Databricks
Understanding SQL Warehouses and All-Purpose Compute
SQL Warehouses (Serveless)
SQL Warehouses (Serveless) in Databricks refers to using serverless SQL endpoints for running SQL queries.
Here's why it's recommended over all-purpose compute for certain tasks:
| Attribute | Description |
|---|---|
| Cost-effectiveness | Serverless SQL endpoints allow you to pay only for the queries you execute, without the need to provision or manage dedicated infrastructure, making it more cost-effective for ad-hoc or sporadic queries. |
| Scalability | Serverless architectures automatically scale resources based on demand, ensuring optimal performance for varying workloads. |
| Simplified Management | With serverless SQL endpoints, you don't need to manage clusters or infrastructure, reducing operational overhead. |
| Minimum Requirements | The minimum requirements for using SQL warehouse with serverless typically include access to a Databricks workspace and appropriate permissions to create and run SQL queries. |
All-purpose Compute
All-purpose compute in Databricks refers to clusters that are not optimized for specific tasks. While they offer flexibility, they may not provide the best performance or cost-effectiveness for certain workloads. Here's why they might not be recommended:
| Attribute | Description |
|---|---|
| Slow Spin-up Time | All-purpose compute clusters may take longer to spin up compared to specialized clusters, resulting in delays before processing can begin. |
| Timeout Connections | Due to longer spin-up times, there's a risk of timeout connections, especially for applications or services that expect quick responses. |
Node pool and its usage
A node pool in Databricks is a set of homogeneous virtual machines (VMs) within a cluster. It allows you to have a fixed set of instances dedicated to specific tasks, ensuring consistent performance and resource isolation. Here's how node pools are typically used:
| Attribute | Description |
|---|---|
| Resource Isolation | Node pools provide resource isolation, allowing different workloads or applications to run without impacting each other's performance. |
| Optimized Performance | By dedicating specific nodes to particular tasks, you can optimize performance for those workloads. |
| Cost-effectiveness | Node pools can be more cost-effective than using all-purpose compute for certain workloads, as you can scale resources according to the specific requirements of each task. |
Improving "All-purpose compute" with node pool and minimum requirements
To improve the performance of all-purpose compute using node pools, you can follow these steps:
| Action | Description |
|---|---|
| Define Workload-Specific Node Pools | Identify the specific tasks or workloads that require optimized performance and create dedicated node pools for them. |
| Specify Minimum Requirements | Determine the minimum resources (such as CPU, memory, and disk) required for each workload and configure the node pools accordingly. |
| Monitor and Adjust | Continuously monitor the performance of your node pools and adjust resource allocations as needed to ensure optimal performance. |
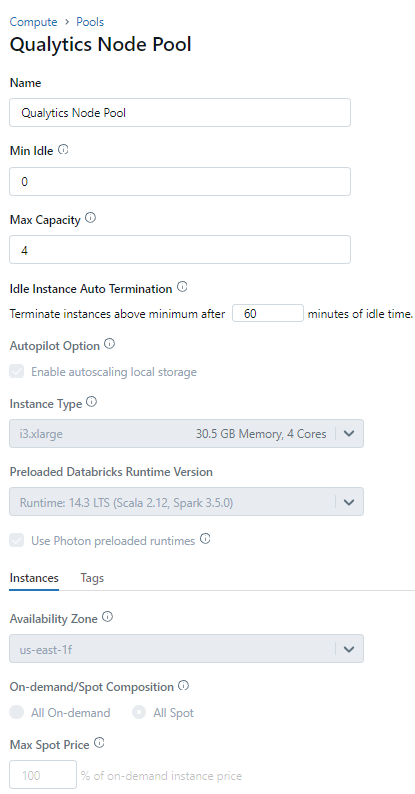
Node Pool minimum configuration
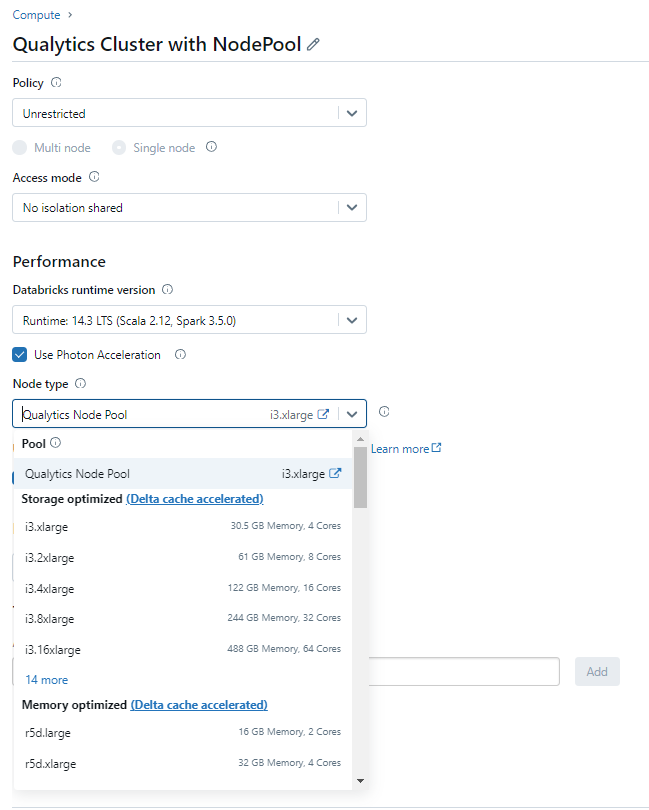
Attach the Compute with the Node Pool
Information on how to retrieve the connection details
This section explains how to retrieve the connection details that you need to connect to Databricks.
Credentials to connect with Qualytics
Host:<host-name>.cloud.databricks.comor<host-name>.azuredatabricks.netHttp Path:sql/prodocolv1/o/xxxxx/xyz-xyz-xyzor/sql/1.0/warehouses/xyzptoCatalog: Your available catalog in DatabricksDatabase: Your available schema in DatabricksPersonal Access Token: Retrieved from User settings
Get connection details for a SQL warehouse
- Click
SQL Warehousesin the sidebar. - Choose a warehouse to connect to.
- Navigate to the
Connection Detailstab. - Copy the connection details.

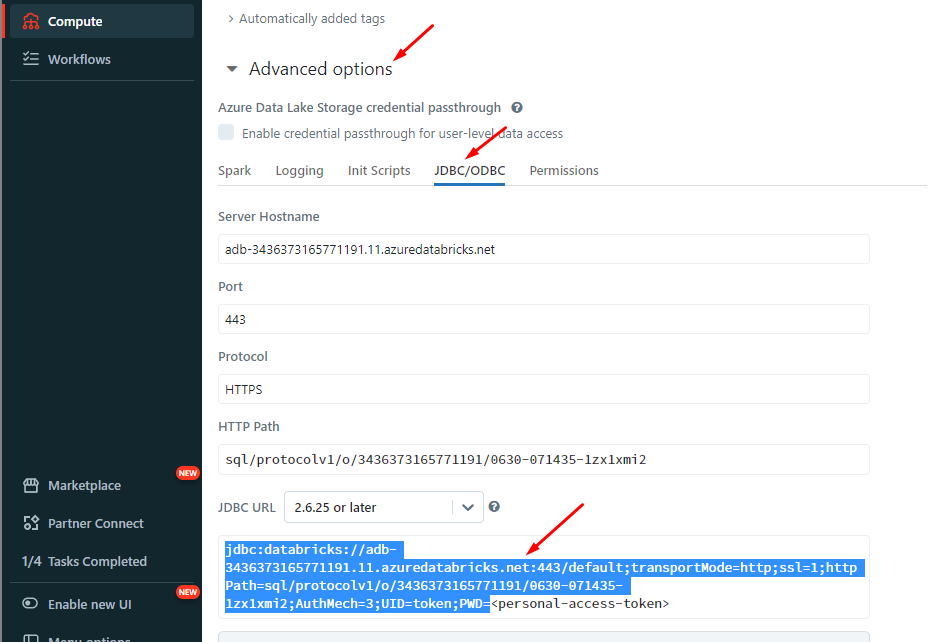
Get connection details for a cluster
- Click
Computein the sidebar. - Choose a cluster to connect to.
- Navigate to
Advanced Options. - Click on the
JDBC/ODBCtab. - Copy the connection details.
Get the Access Token
The token generation is documented as described in the Databricks documentation.
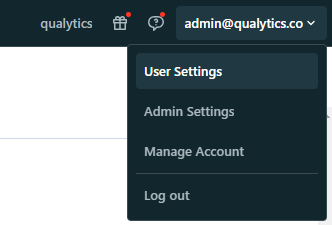
1. In your Databricks workspace, click your Databricks username in the top bar, and then select User Settings from the drop down menu
2. In Settings page, select the Developer option in User section
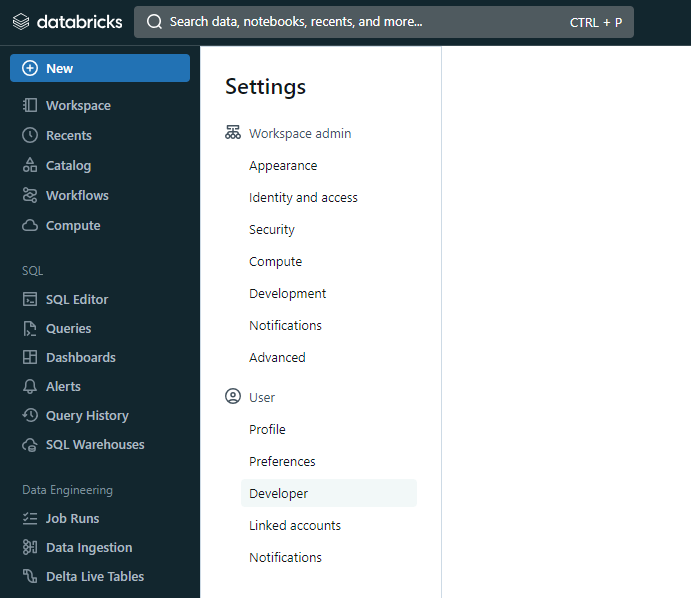
3. In Developer page, you will se below the Developer divisor the Manage Access Tokens
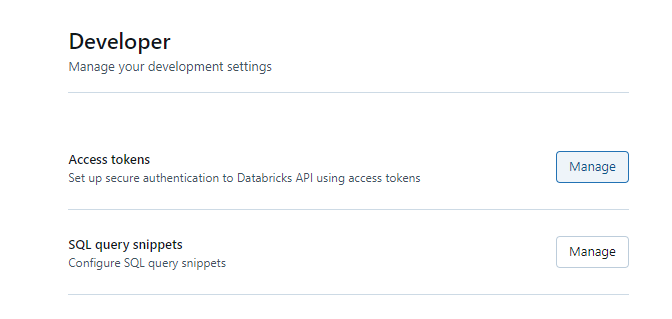
4. In Developer page, click on the Manage in Access Tokens
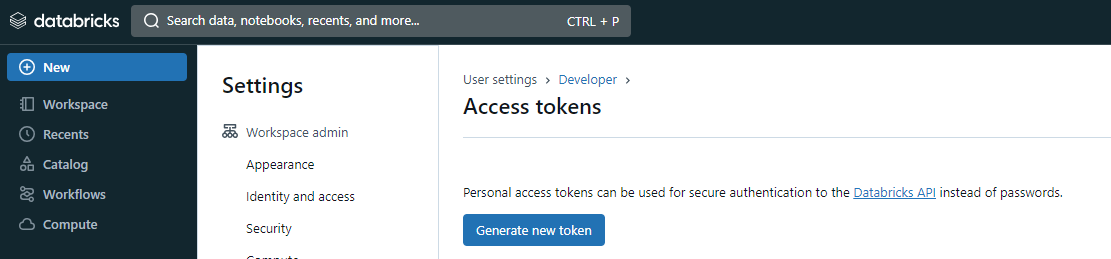
5. In Access Tokens page, click in Generate new token button
6. You will see a modal to add a description and validation time (in days) for the token:
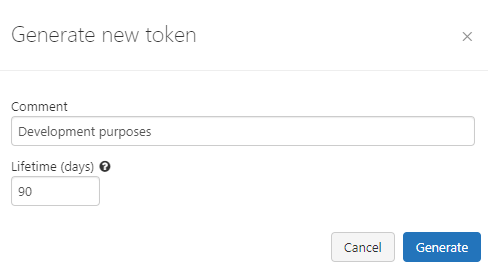
7. After adding the contents, you can click in generate, it will show the token:
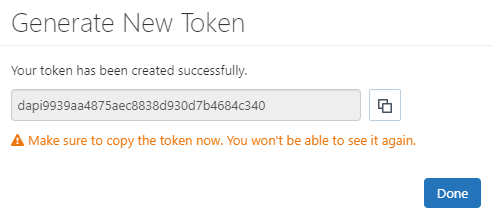
Warning
Once you click in Done the modal will close and you will never see the token again.
Please, save the Personal Access Token to a secure space.
8. You can see the new token in Access Tokens page:

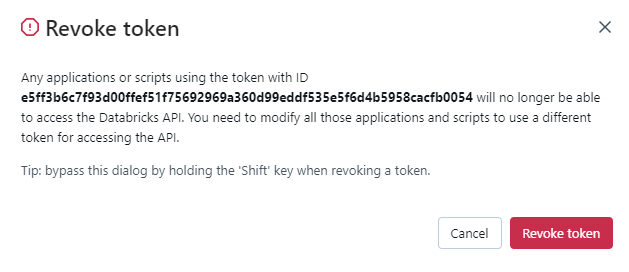
You can also revoke a token on Access Tokens page by clicking on the thresh icon:
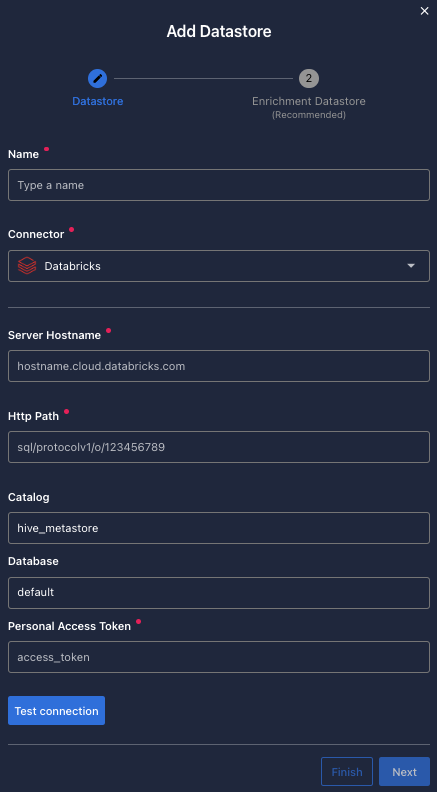
Steps to Set Up Databricks in Qualytics
Fill the form with the credentials of your data source.

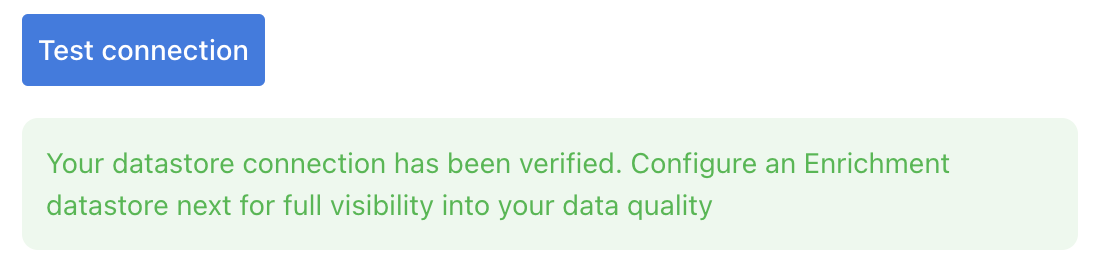
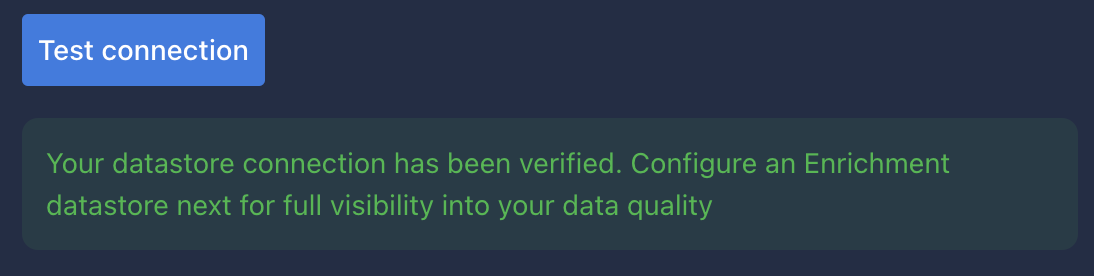
Once the form is completed, it's necessary to test the connection to verify if Qualytics is able to connect to your source of data. A successful message will be shown:
Warning
By clicking on the Finish button, it will create the Datastore and skipping the configuration of an Enrichment Datastore.
- To configure an Enrichment Datastore in another moment, please refer to this section
Note
It is important to associate an Enrichment Datastore with your new Datastore
- The
Enrichment Datastorewill allow Qualytics to recordenrichment data, copies of the sourceanomalous dataand additionalmetadatafor yourDatastore
Configuring an Enrichment Datastore
-
If you have an
Enrichment Datastorealready setup, you can link it by enable to use an existing Enrichment Datastore and select from the list -
If you don't have an
Enrichment Datastore, you can create one at the same page: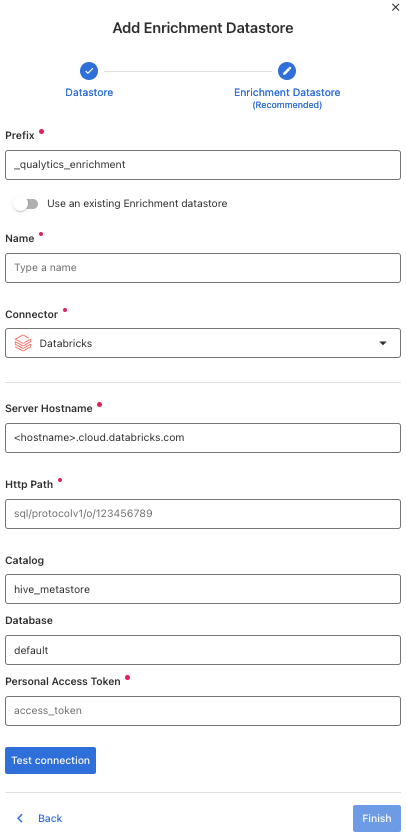

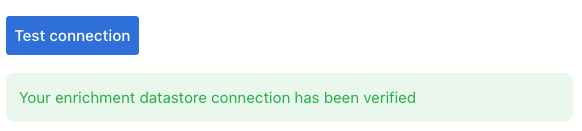
Once the form is completed, it's necessary to test the connection. A successful message will be shown:

Warning
By clicking on the Finish button, it will create the Datastore and link or create the Enrichment Datastore
Fields
Name required
required- The datastore name to be created in Qualytics App.
Server Hostname required
required- The address of the server to connect to.
Http Path required
required- The Databricks compute resources URL.
Catalog optional
optional-
The
Catalogname to be accessed. -
You can return the list of
catalogsrunning:
Database optional
optional-
The
databasename to be accessed. -
You can return the list of
databasesrunning:
Personal Access Token required
required-
The personal access token to access databricks.
-
Get the token in Authentication requirements.