Azure Blob Storage
Steps to setup Azure Blob Storage
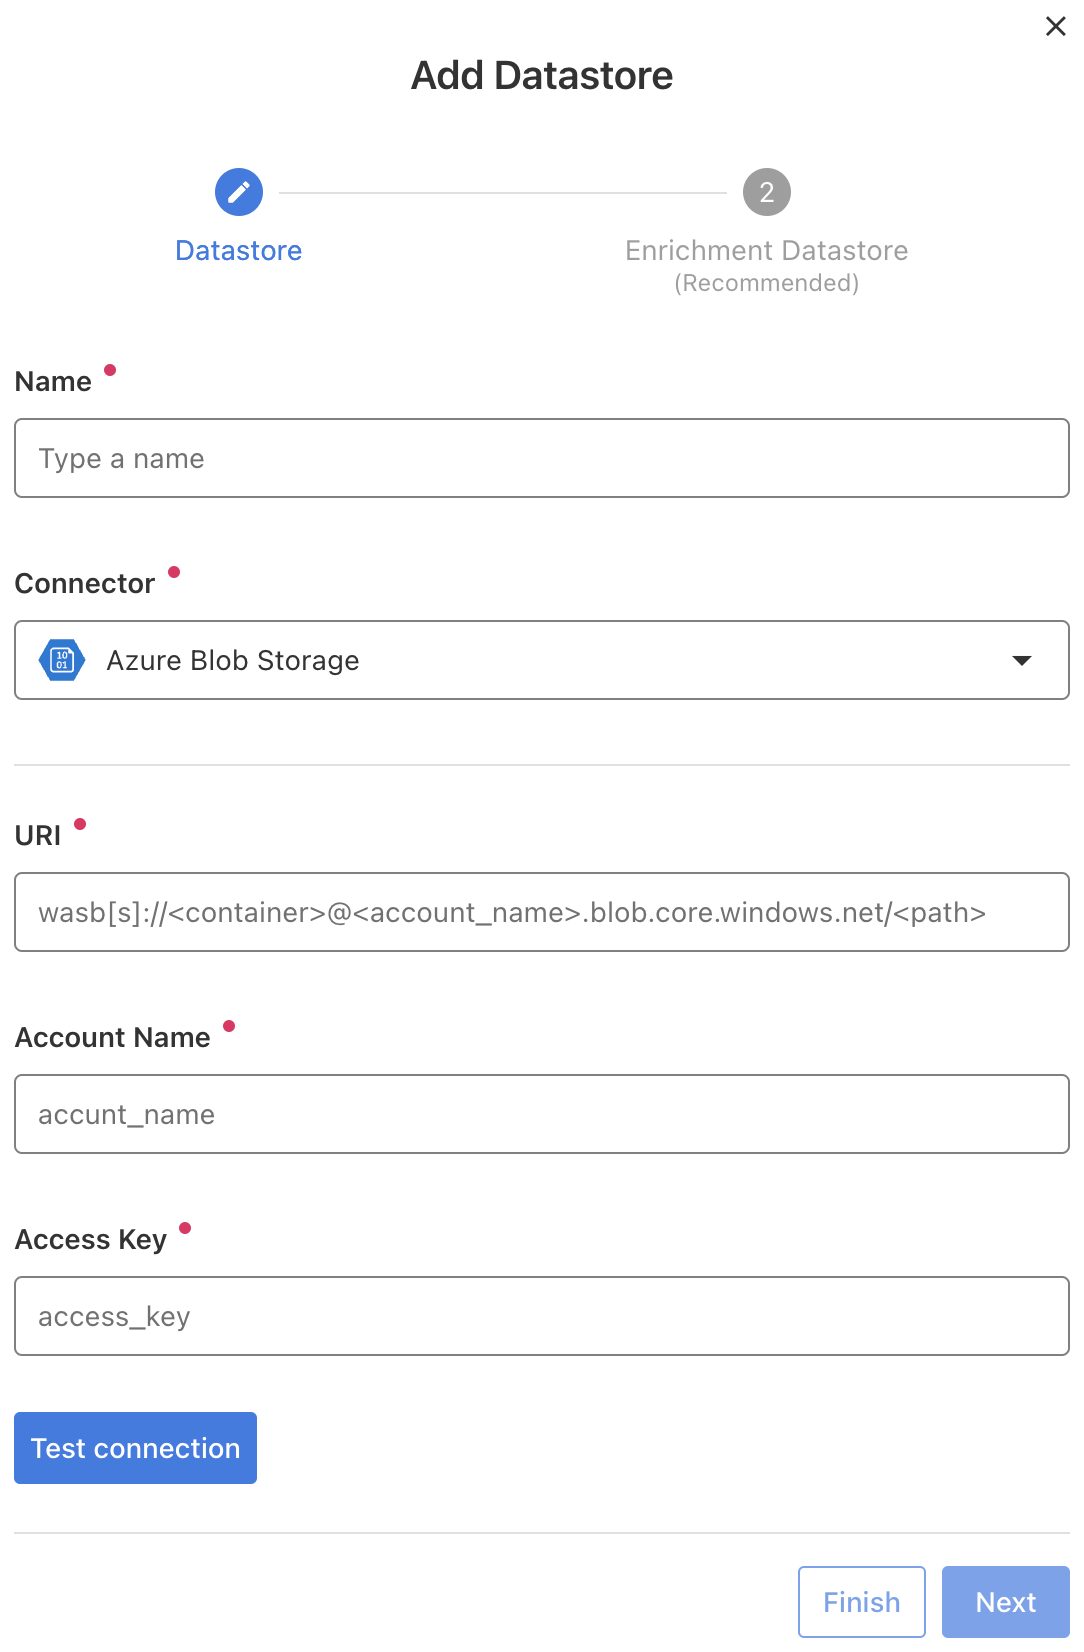
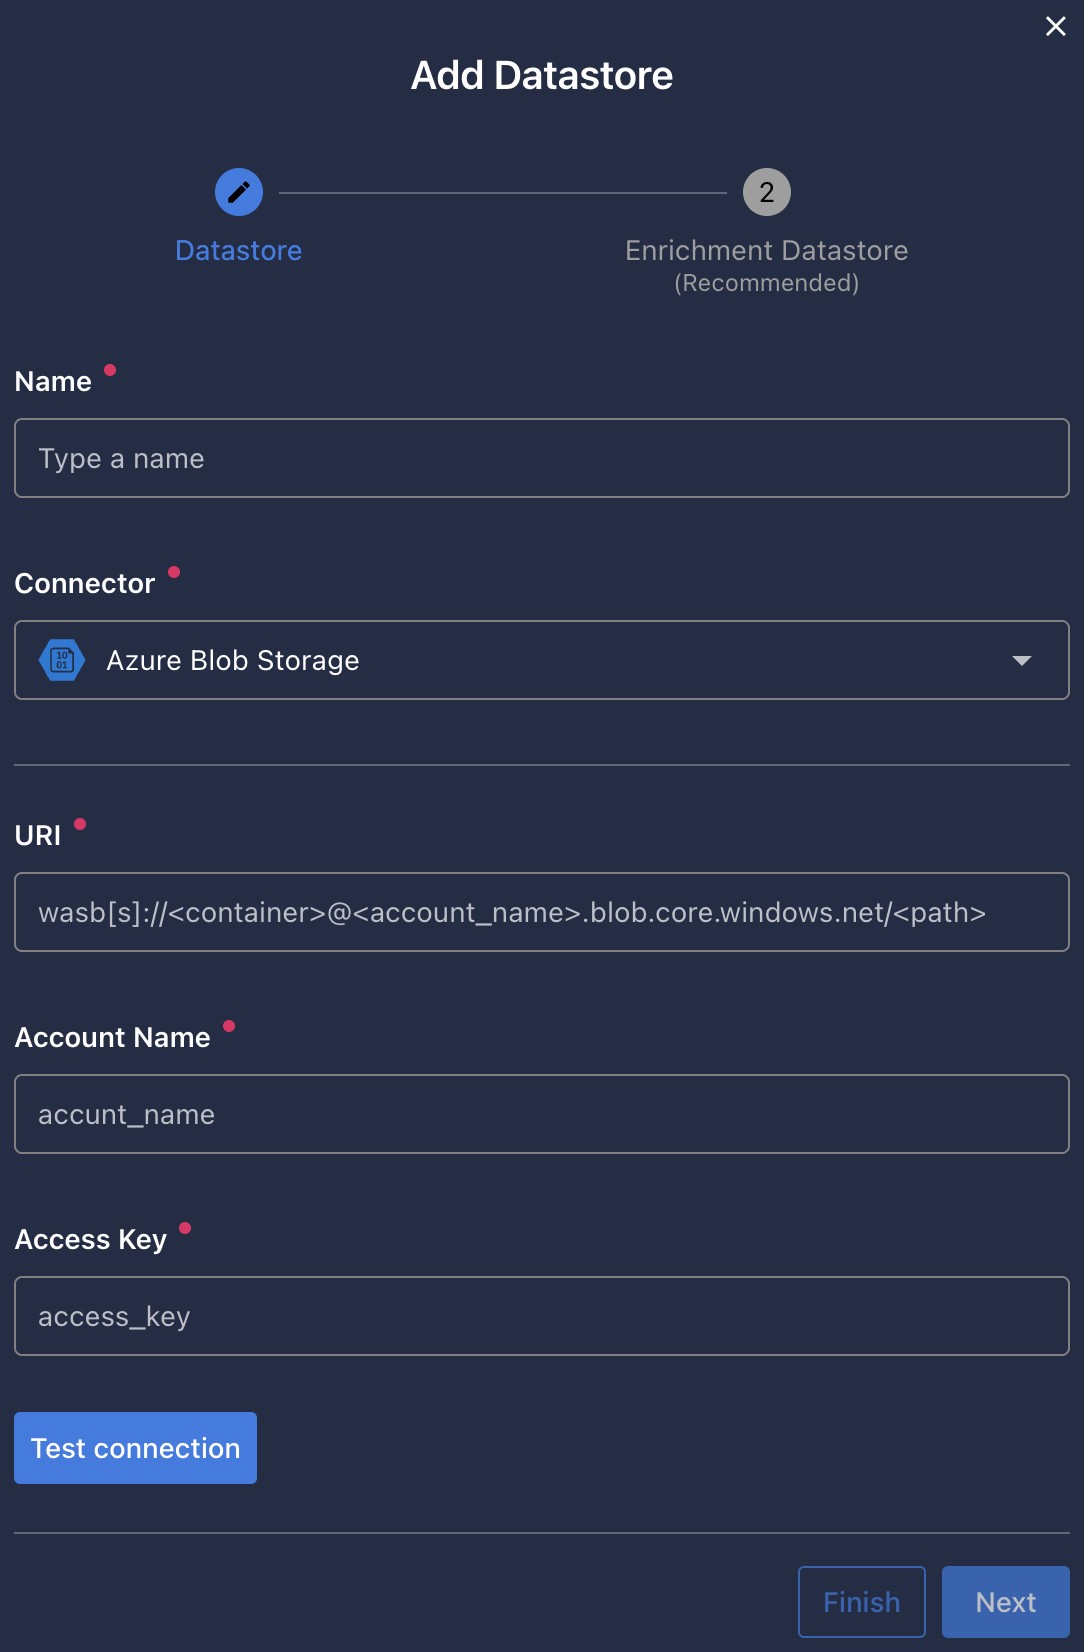
Fill the form with the credentials of your data source.
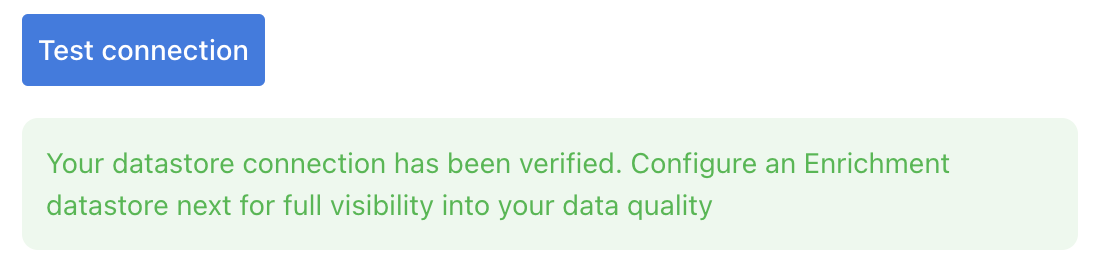
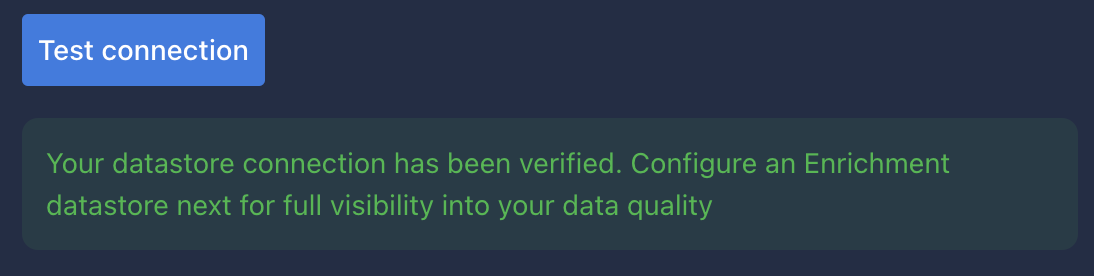
Once the form is completed, it's necessary to test the connection to verify if Qualytics is able to connect to your source of data. A successful message will be shown:
Warning
By clicking on the Finish button, it will create the Datastore and skipping the configuration of an Enrichment Datastore.
- To configure an Enrichment Datastore in another moment, please refer to this section
Note
It is important to associate an Enrichment Datastore with your new Datastore
- The
Enrichment Datastorewill allow Qualytics to recordenrichment data, copies of the sourceanomalous dataand additionalmetadatafor yourDatastore
Configuring an Enrichment Datastore
-
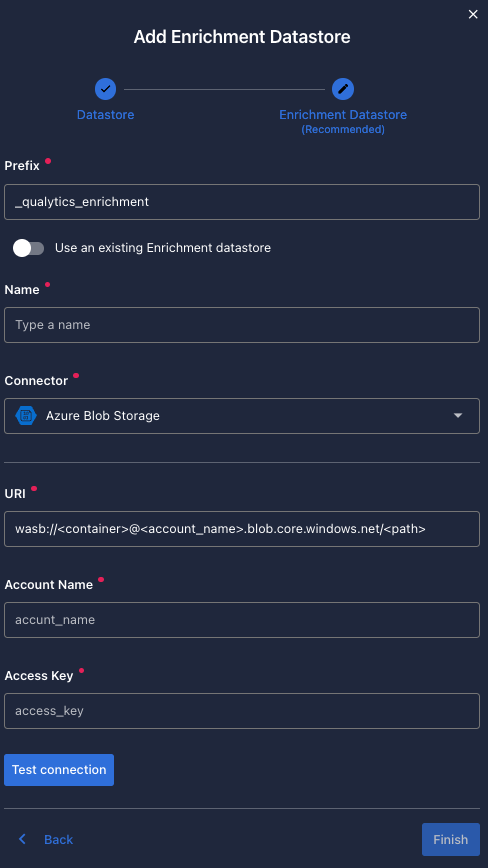
If you have an
Enrichment Datastorealready setup, you can link it by enable to use an existing Enrichment Datastore and select from the list -
If you don't have an
Enrichment Datastore, you can create one at the same page: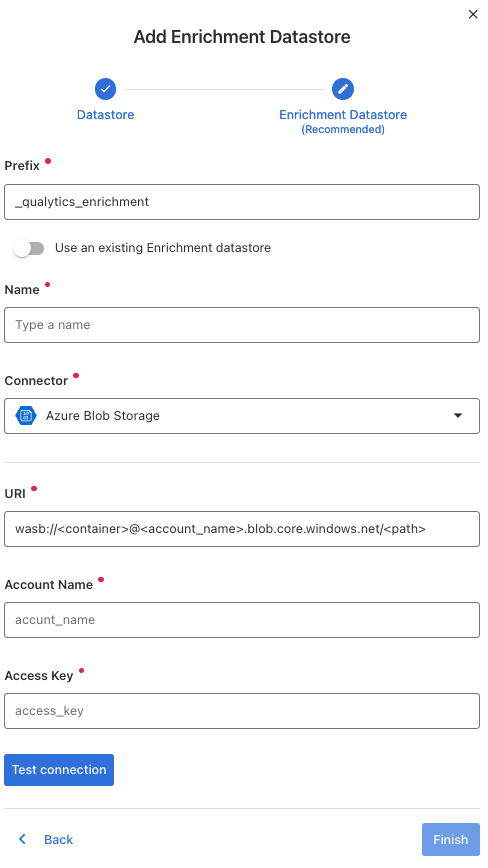
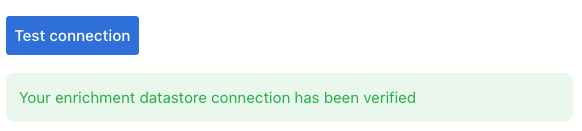
Once the form is completed, it's necessary to test the connection. A successful message will be shown:
Warning
By clicking on the Finish button, it will create the Datastore and link or create the Enrichment Datastore
Fields
Name required
required- The datastore name to be created in Qualytics App
URI required
required<container-name>: the name of a container in your Azure Blob storage account.<storage-account-name>: the name of your Azure Blob storage account.<path>: A forward slash delimited (/) representation of the directory structure.
Account Name and Access Key required
required-
Account Name and Access Key to access azure blob storage.
-
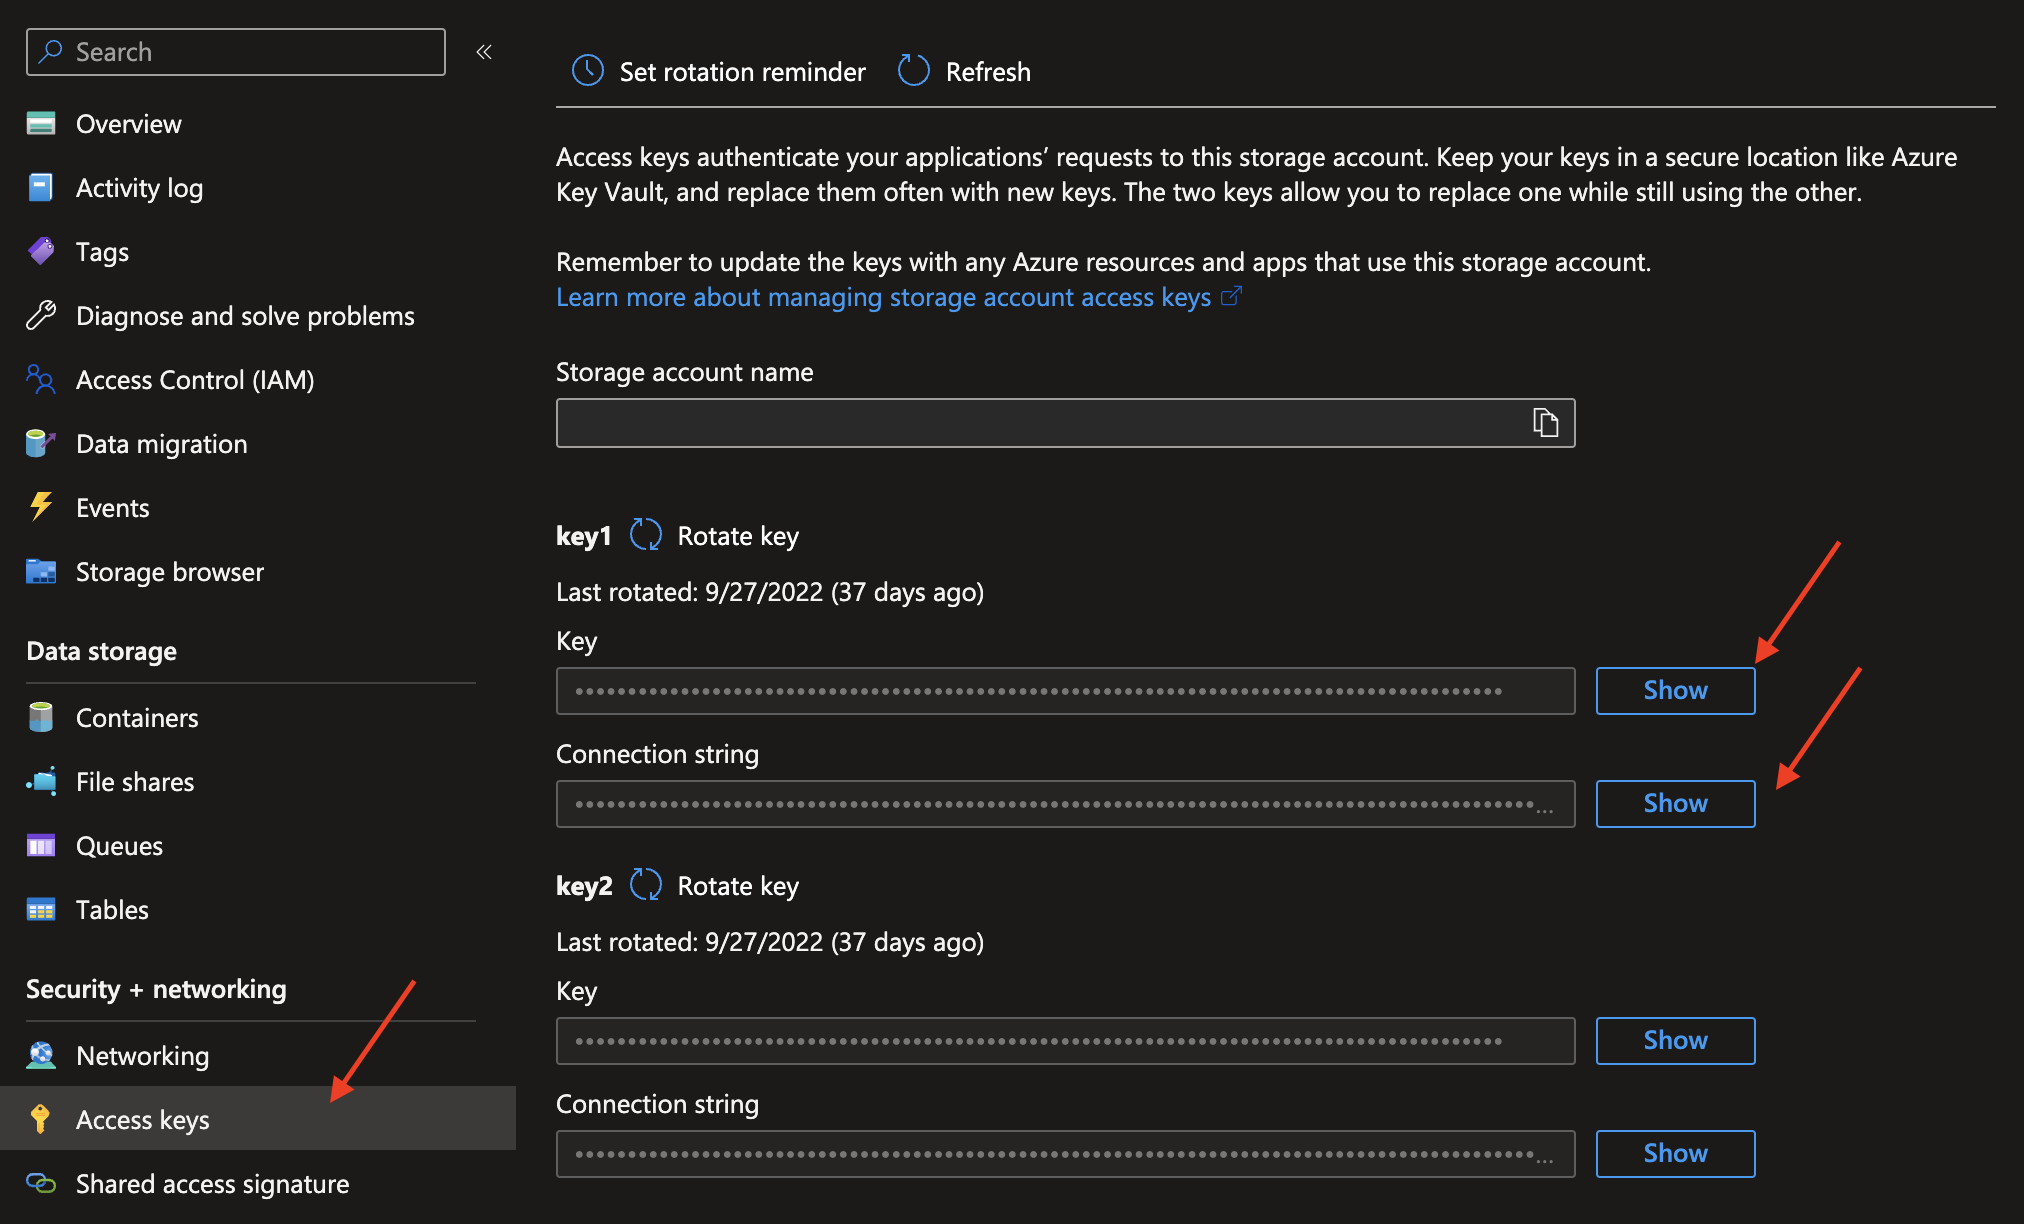
To get the
account_nameandaccess_keyyou need to access your local storage in Azure. -
Click on
Access Keystab and copy the values.